Category: Patterns
-

The Ivey Head Band
This is a beginner friendly pattern. However, there are some stitches such as the Foundation Single Crochet that may need further explaining. I provided links to assist with these stitches.
-
The Ivey Headband Pattern released soon.
-
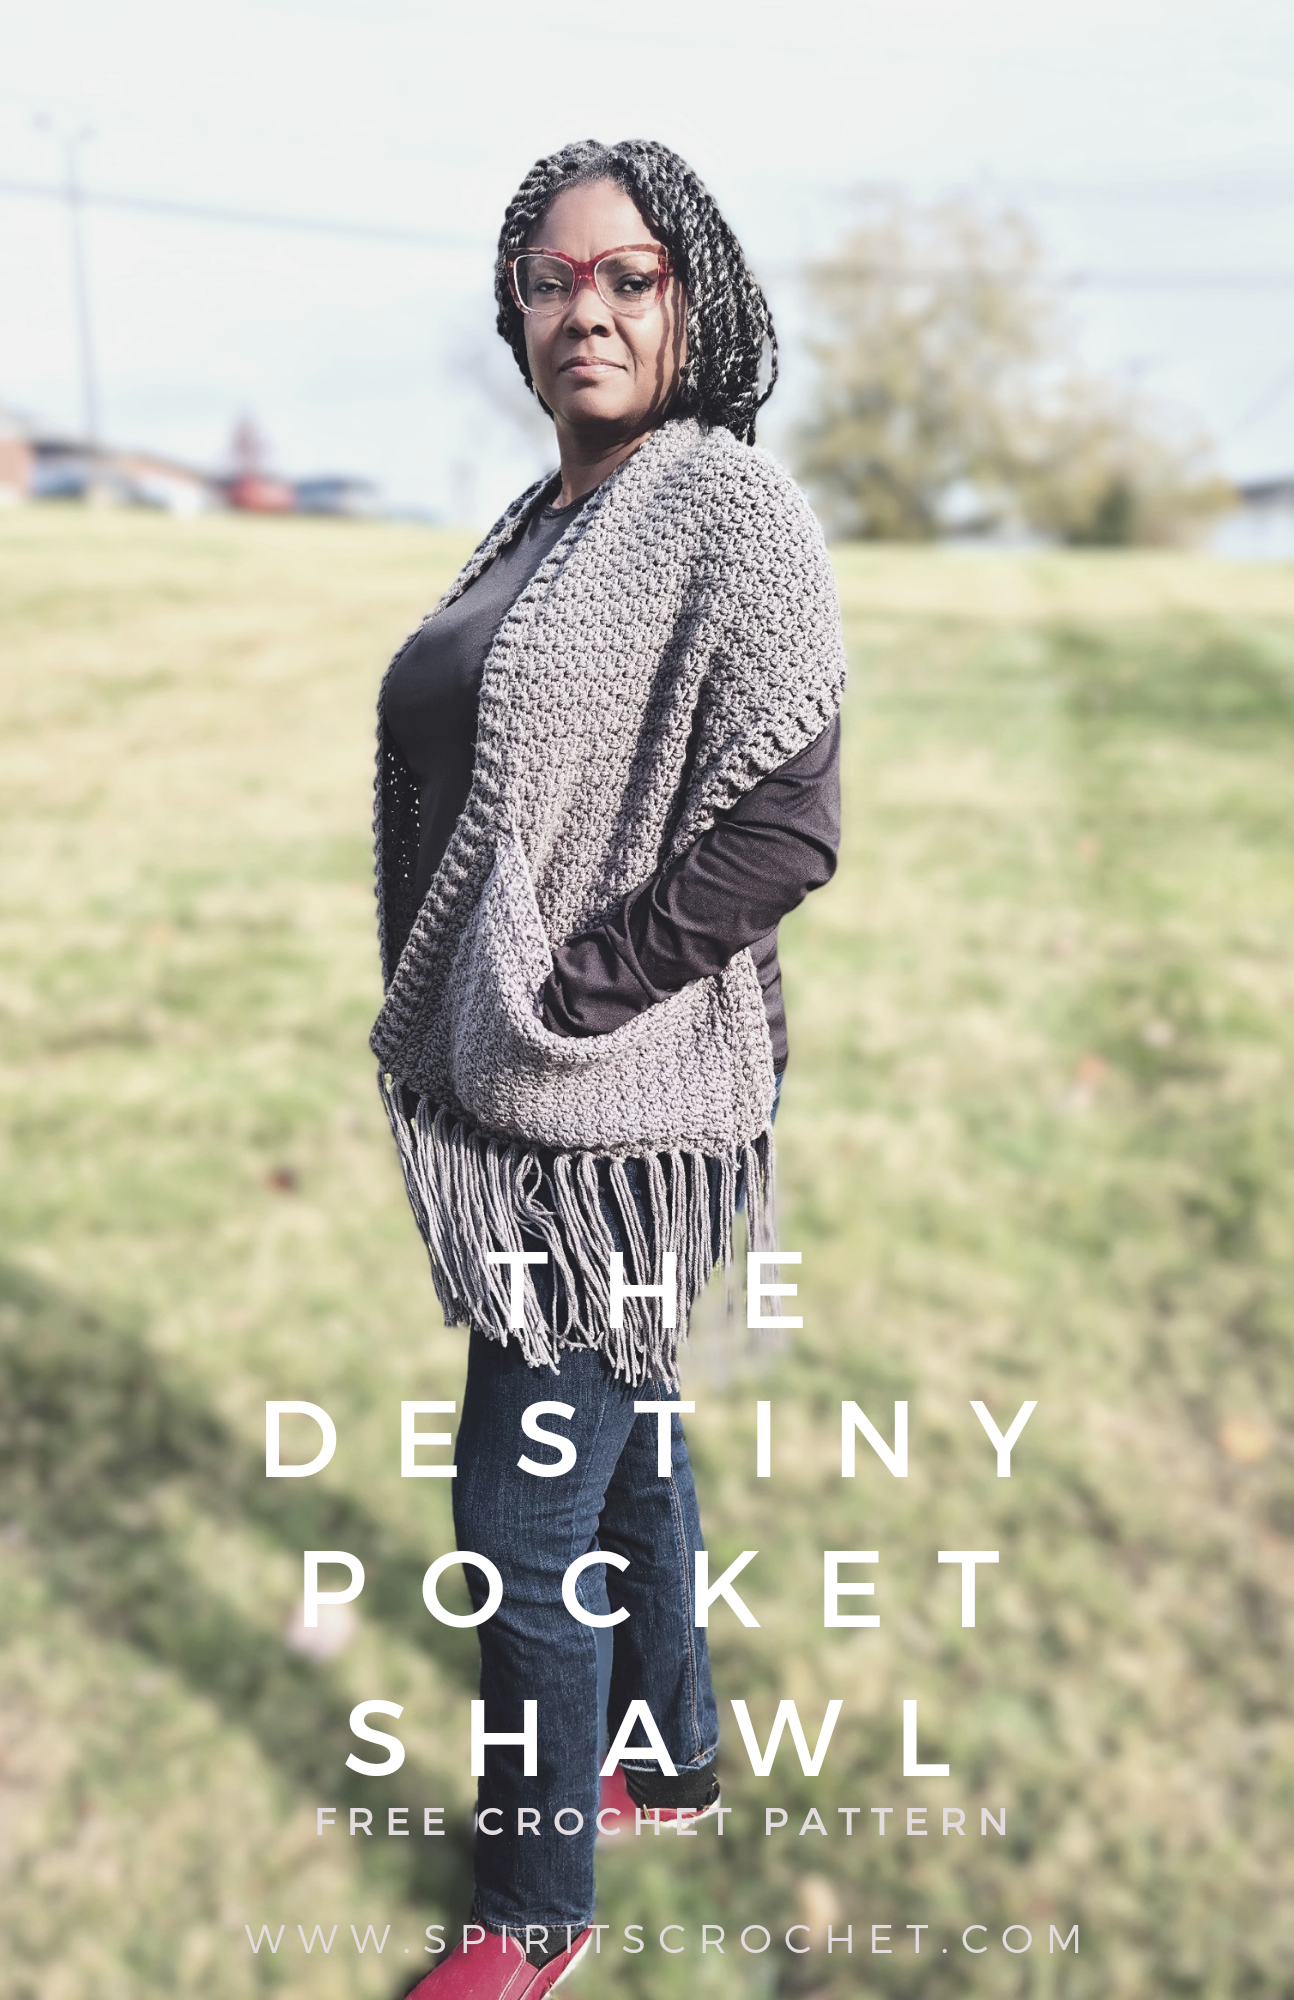
The Destiny Pocket Shawl
The Destiny Pocket Shawl, a beginner friendly crochet pattern. This beautiflly textured scarf will compliment any woman’s wardrobe.
-

Pineapple-skirt-pattern 🍍
I wrote this pattern a few months ago, my very first. The process was much harder than I thought. I wanted to make sure I learned from other patterns I had bought and felt should have more details. I also wanted to take the good from other great pattern writers. Ensuring I included the correct…